Supercharge Your CI/CD: A Step-by-Step Guide to Installing Jenkins on the Cloud
Introduction
In today’s fast-paced development environment, automation is the key to maintaining efficiency and delivering high-quality software. Jenkins, a leader in CI/CD tools, enables teams to automate testing, building, and deploying applications effortlessly. In this guide, we’ll cut through the noise and show you how to get Jenkins up and running on the cloud using an EC2 instance, so you can supercharge your development workflows in no time. For more detail read the following article :
Jenkins Unleashed: Transforming DevOps with Seamless Automation and CI/CD Mastery
In the dynamic landscape of software development, Jenkins stands out as a cornerstone tool for Continuous Integration…
Prerequisites
Before we begin, ensure that you have the following:
An AWS account.
Basic understanding of EC2 instances and SSH.
An EC2 instance running Ubuntu 24.04 (t2.micro is sufficient for testing purposes).
Security group configured to allow SSH (port 22) and HTTP (port 8080 for Jenkins).
For more detailed understanding refer the following article:
Build and Deploy Java application on EC2 Instance (AWS)
Configurations :
Step 1: Launch Your Cloud Instance and Get Connected
Before diving into Jenkins, the foundation of your setup is an EC2 instance running in AWS. If you’re unfamiliar with launching an EC2 instance, don’t worry — it’s simple! Just follow the step-by-step instructions in this detailed guide. The article walks you through everything from creating the instance, setting up security groups, and, most importantly, SSH into your machine for direct access.
Once you’ve launched and connected to your EC2 instance, you’re ready for Jenkins!
Step 2: Head to Jenkins’ Official Repository for Installation Instructions
Jenkins’ installation is designed to be smooth and seamless, thanks to their official package repository. Here’s how you can get started:
Open your browser and go to pkg.jenkins.io.
Select Debian Stable (or choose the version that matches your OS if you aren’t using Ubuntu).
Jenkins provides you with clear instructions on how to install it, depending on your operating system. For Ubuntu, you’ll follow these steps:
Add the Jenkins repository to your EC2 instance.
Import the Jenkins GPG key.
Install Jenkins using the apt command.
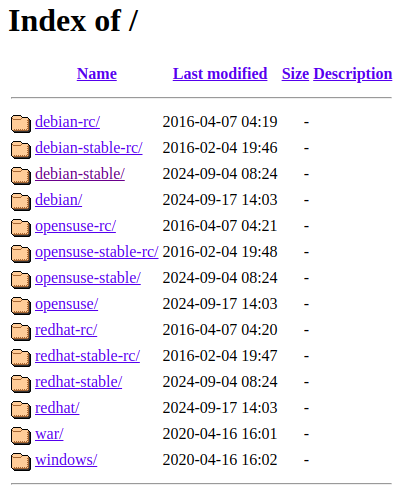
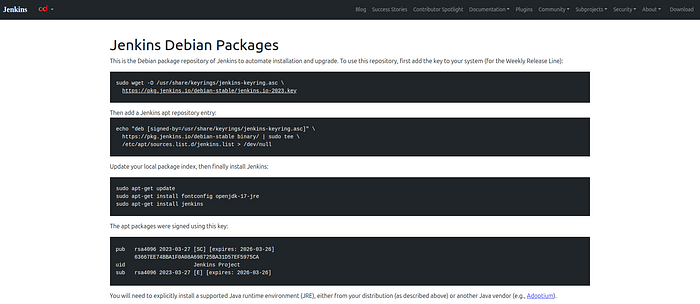
Debian Packages
Each step is outlined directly on the Jenkins site, making it easy to copy and execute commands without fuss.
Step 3: Start Jenkins and Enable It to Run on Boot
After installing Jenkins, you’ll want to start the service and ensure that it boots automatically with your system. Use the following commands to get Jenkins running:
sudo systemctl start jenkins
sudo systemctl enable jenkins
sudo systemctl status jenkins
By enabling Jenkins to start on boot, you’re ensuring that your CI/CD server is always available after reboots or system maintenance.
Step 4: Open Jenkins in Your Browser
Now that Jenkins is running on your EC2 instance, it’s time to access it from your browser. Navigate to:
http://<your-ec2-public-ip>:8080
Here, you’ll be greeted by the Jenkins setup wizard. But before you can begin configuring, you’ll need the initial admin password.
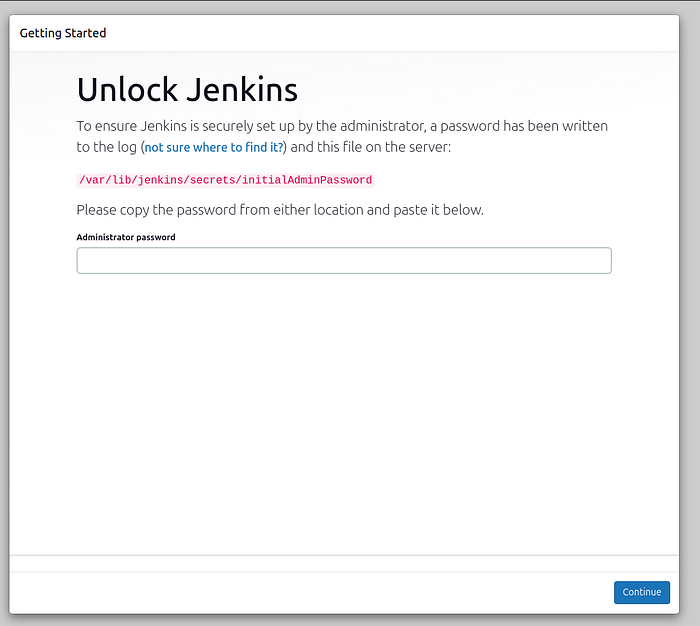
To retrieve it, SSH back into your EC2 instance and run:
sudo cat /var/lib/jenkins/secrets/initialAdminPassword
Copy the password, paste it into the browser, and proceed with the setup wizard.
Step 5: Customize Your Jenkins Setup
Install Plugins: Jenkins will prompt you to install plugins. Select Install Suggested Plugins to get a quick-start with the most commonly used tools.
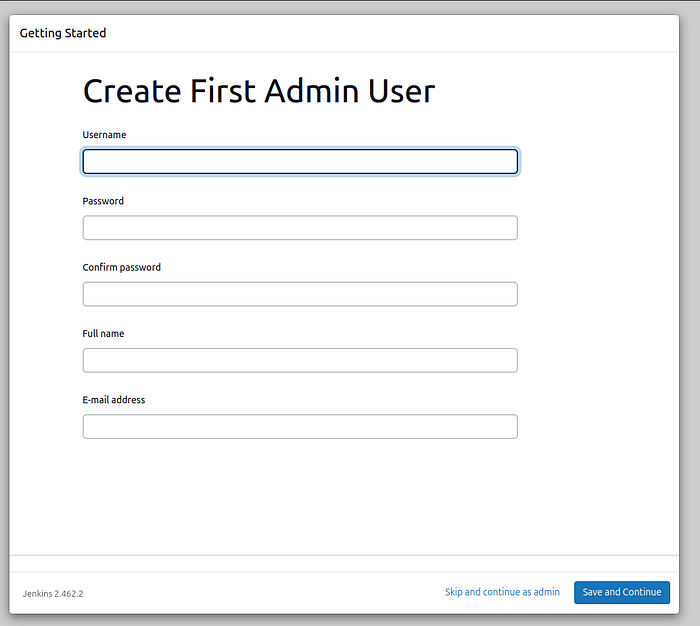
Create an Admin User: Next, you’ll create your admin credentials. This is crucial for securing your Jenkins server.
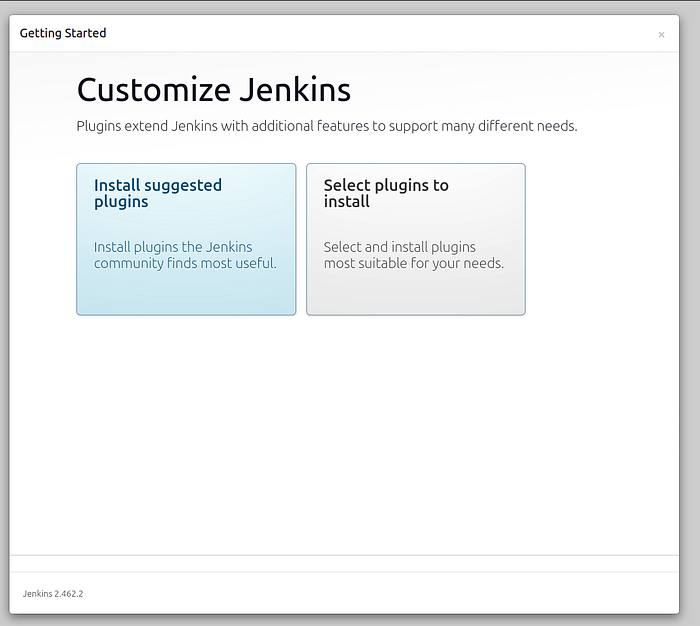
Customize Jenkins
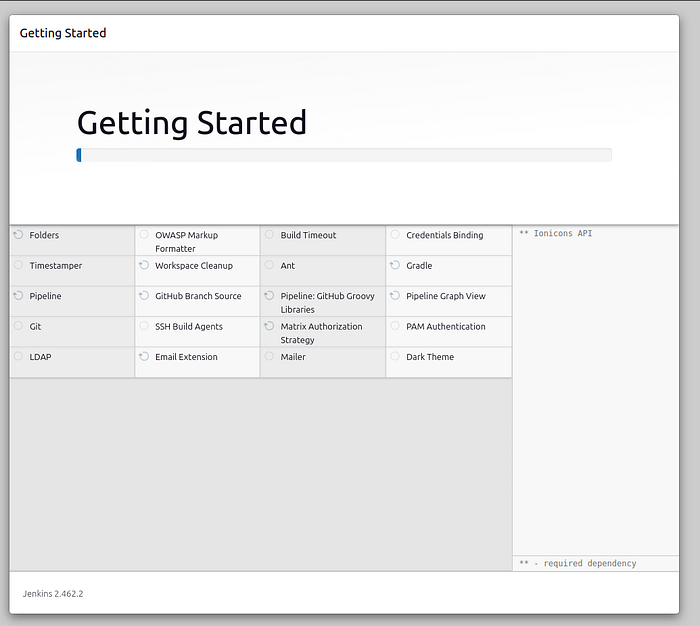
Getting Started
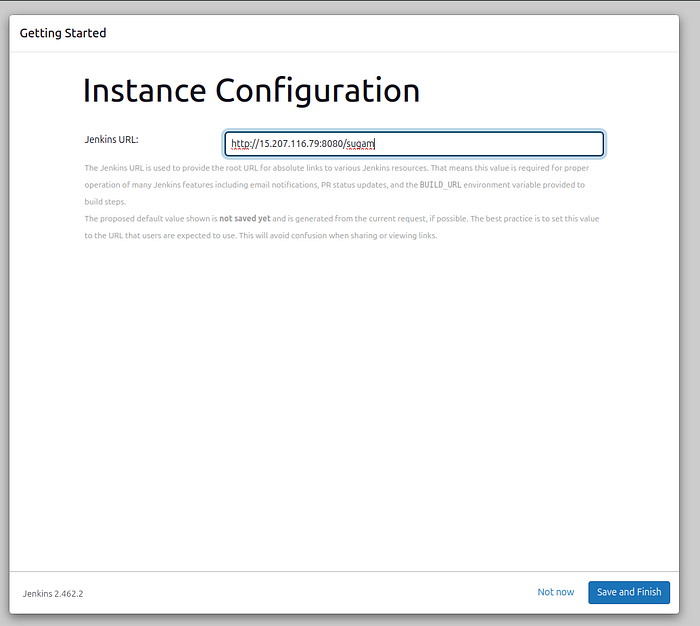
Install Configuration
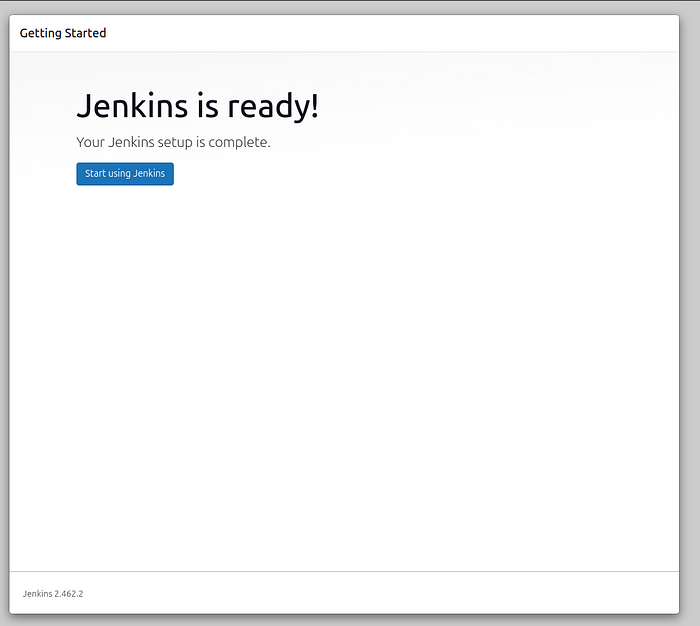
Jenkins Ready
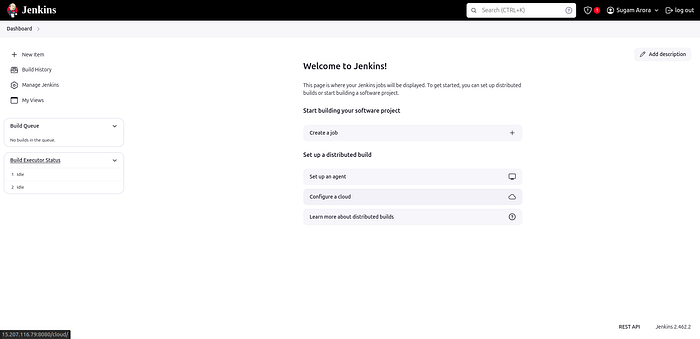
Jenkins Dashboard
Once the plugins are installed and your admin user is set up, Jenkins will bring you to the dashboard, where you can begin configuring your first pipelines!
Step 6: Configure Jenkins for Your CI/CD Needs
Your Jenkins server is now fully operational. Take a moment to explore the user interface and create your first project. Whether you’re working with Java, Node.js, Docker, or Kubernetes, Jenkins provides plugin support and pipeline templates to automate any part of your software lifecycle. You can integrate with GitHub, Bitbucket, or even deploy directly to AWS or other cloud services — all from a single dashboard.
Bonus Tips:
Security First: After setting up, make sure to configure your security groups and firewall rules to limit external access. This ensures that your Jenkins instance is protected.
Automate with Pipelines: Leverage Jenkins’ Pipeline as Code to script your CI/CD processes, making your workflows even more powerful and adaptable.
Conclusion
Congratulations! You’ve now installed and set up Jenkins on a cloud-based EC2 instance, opening the door to a fully automated CI/CD pipeline. By following these simple steps, you’ve equipped your team with the ability to build, test, and deploy faster than ever, all while ensuring consistency and reducing errors.
From here, you can integrate Jenkins with other powerful tools in your development stack, scale your operations, and achieve a level of automation that will take your projects to the next level.
Thank you for taking the time to read my blog. Your feedback is immensely valuable to me. Please feel free to share your thoughts and suggestions.
